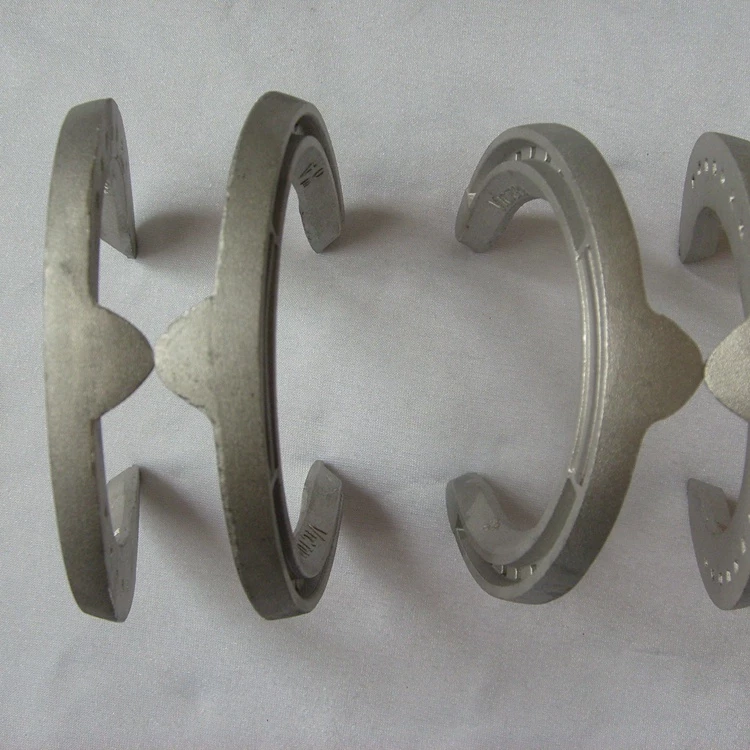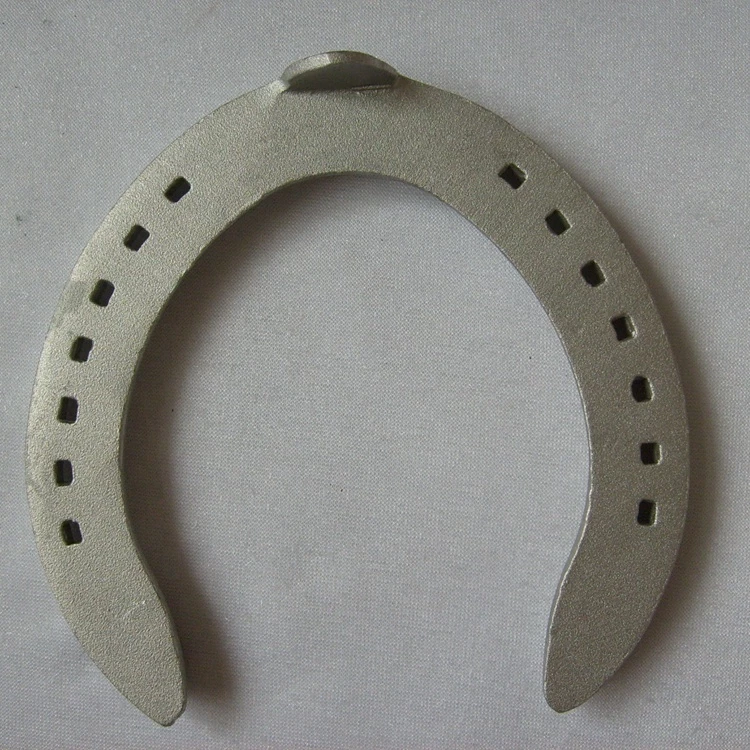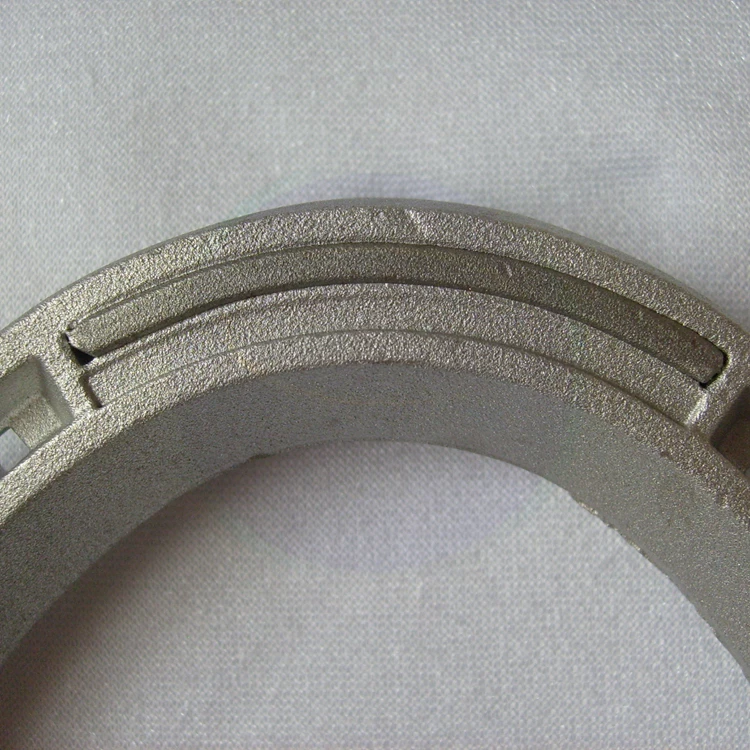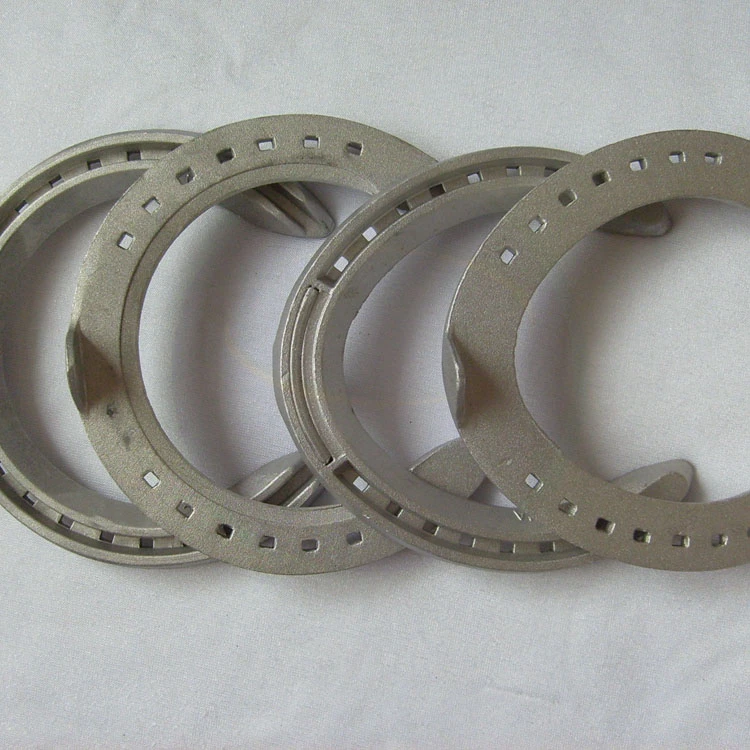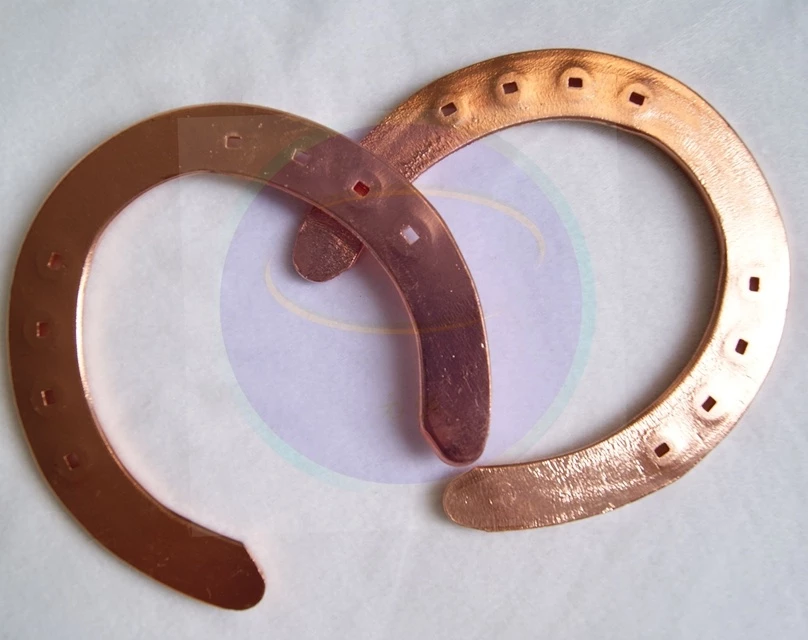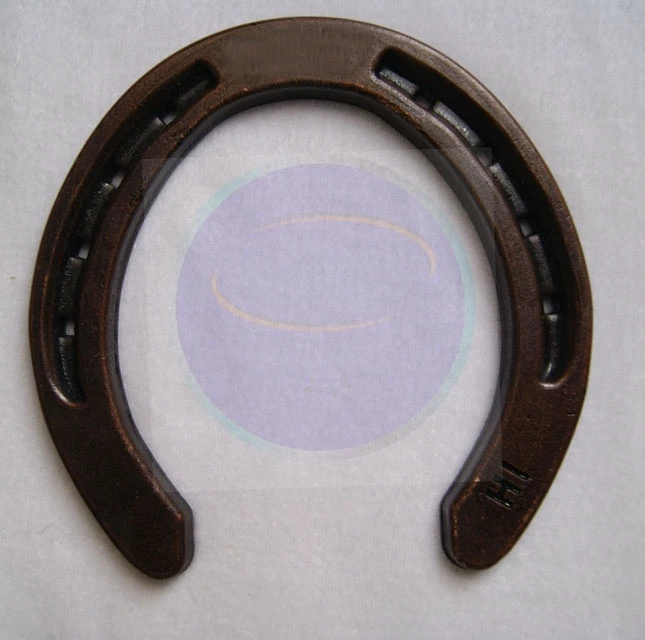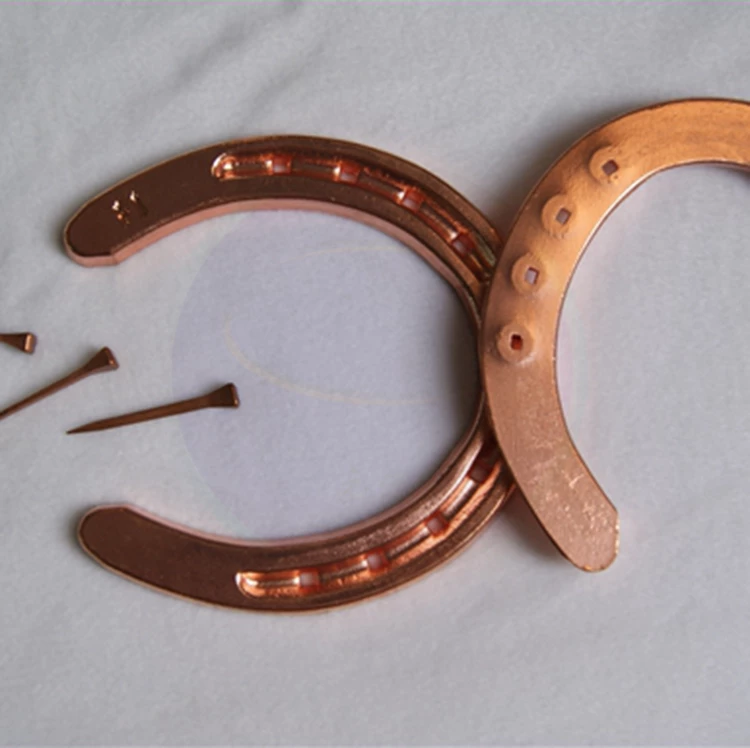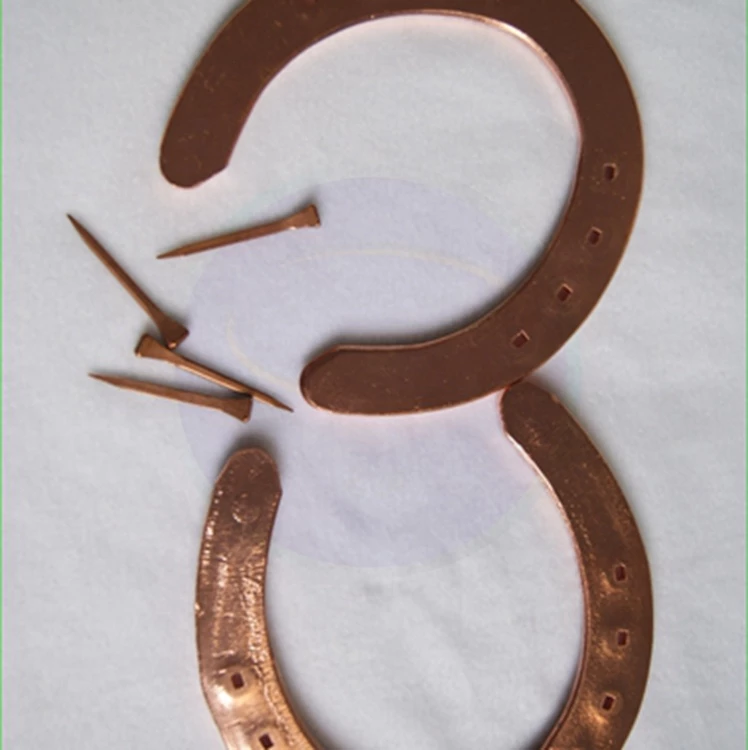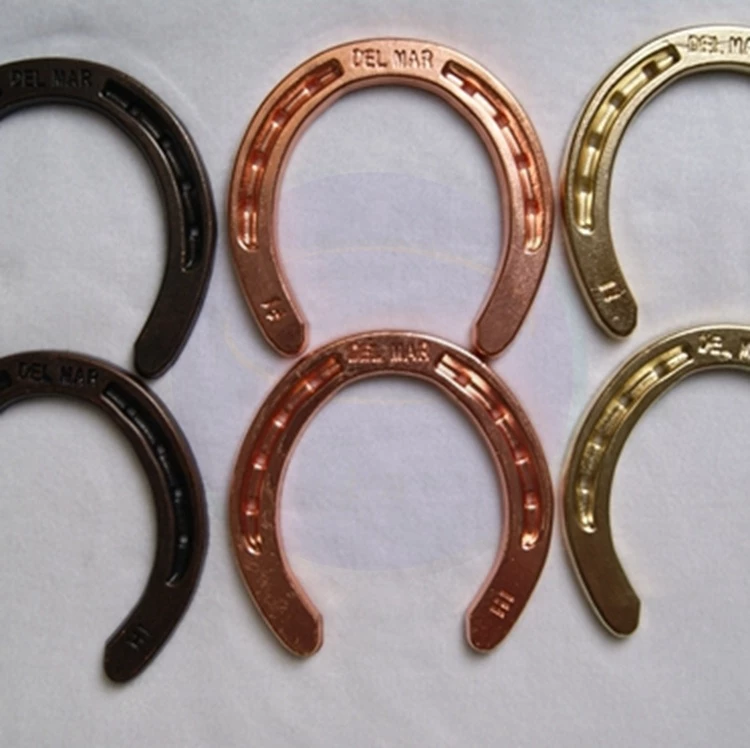

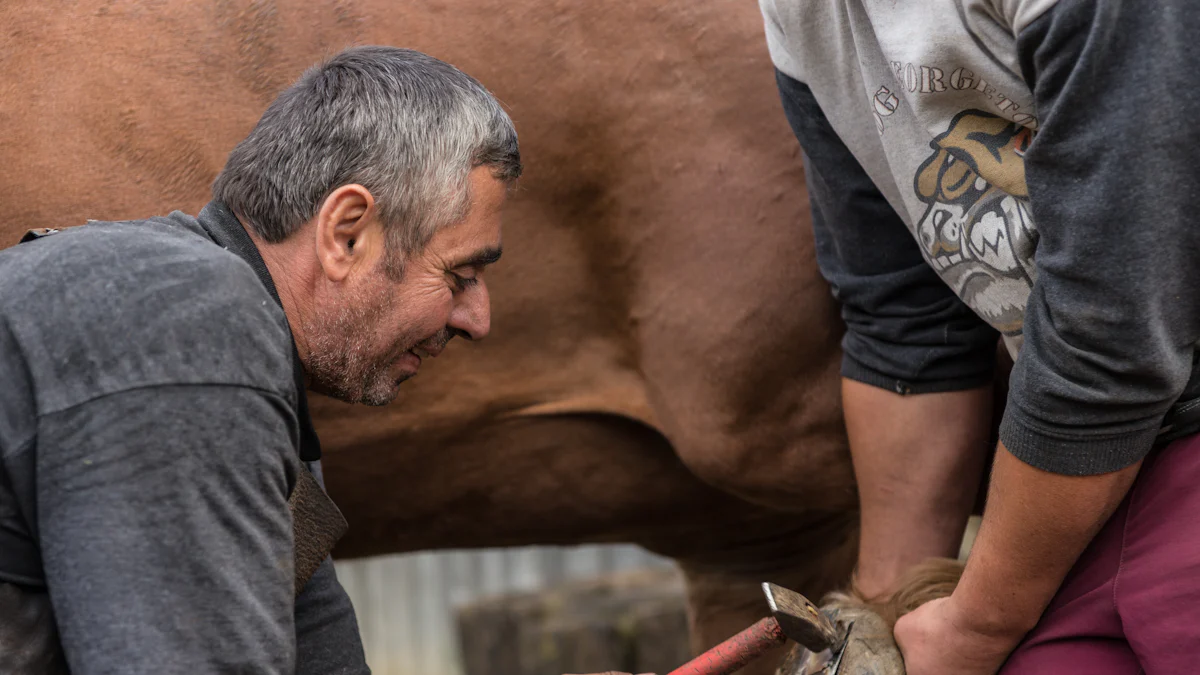
Installing horseshoes properly is more than just a skill—it's a way to keep your horse healthy and comfortable. A well-fitted horseshoe acts like a shield, protecting the hooves from hard surfaces and preventing injuries or lameness. It also improves traction on slippery or uneven ground, which is crucial for mobility, especially if your horse participates in sports. Plus, it helps balance the hoof and evenly distributes weight, reducing stress on sensitive areas.
Did you know horseshoe installation dates back centuries? Early horsemen in northern Europe started nailing metal shoes onto hooves around the sixth century. By the 19th century, machines revolutionized the process, making horseshoes more accessible. Today, with modern materials and tools, you can learn this essential skill and ensure your horse stays happy and active.
If you're new to this, don't worry! This Horseshoe Installation Guide will walk you through everything step by step. With practice, you'll gain confidence and master this rewarding craft.
Key Takeaways
-
Putting on horseshoes correctly keeps your horse's hooves safe and comfy.
-
Always use proper tools, like a hoof pick and file, for a safe job.
-
Pick the right size and kind of horseshoe to avoid pain and fit well.
-
Check and care for your horse's hooves often to spot problems early and keep them healthy.
-
Ask a farrier for help or advice, especially if you're new to this.
Tools and Materials for Horseshoe Installation Guide
Before you start installing horseshoes, you’ll need the right tools and materials. Having these on hand makes the process smoother and safer for both you and your horse. Let’s break it down step by step.
Essential Tools
You’ll need a few key tools to get the job done. Each one plays an important role in the horseshoe installation process:
-
Hoof Pick: Use this to clean dirt and debris from the horse’s hooves. A clean hoof is essential for a proper fit.
-
Farrier's Rasp: This tool helps you smooth and shape the hoof after trimming. It ensures the hoof surface is even for the horseshoe.
-
Hoof Knife: You’ll use this to trim the sole and frog area of the hoof. It’s crucial for preventing infections and maintaining hoof health.
-
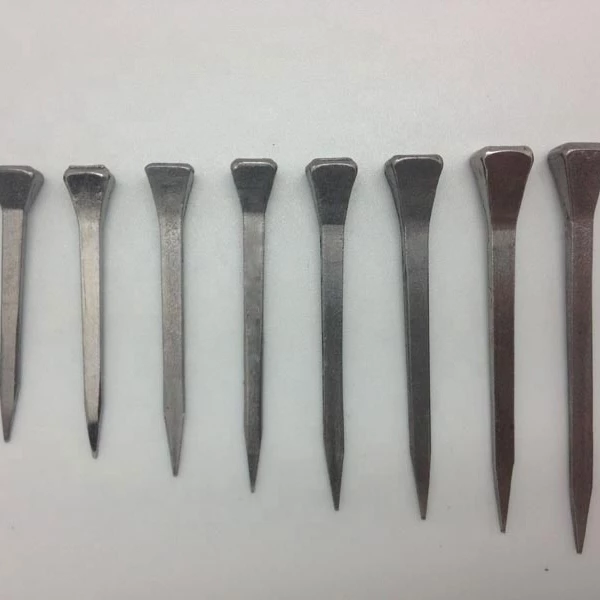
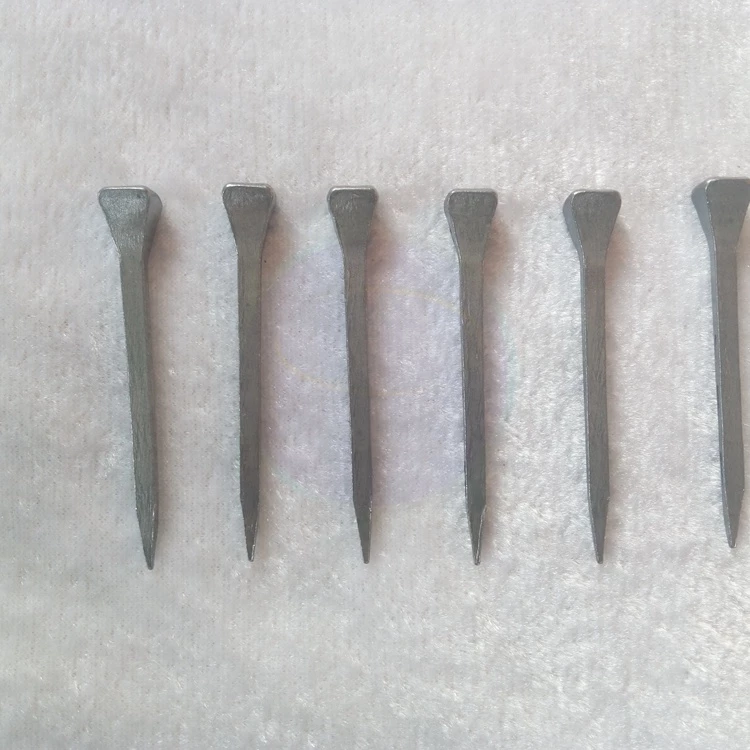
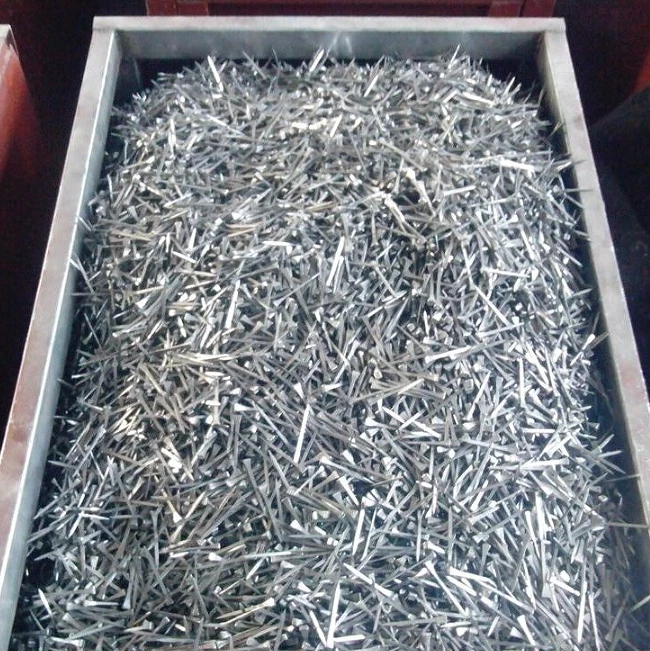
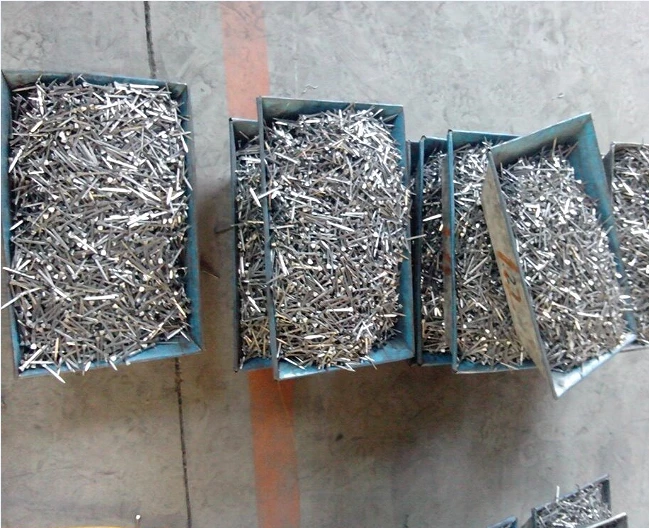
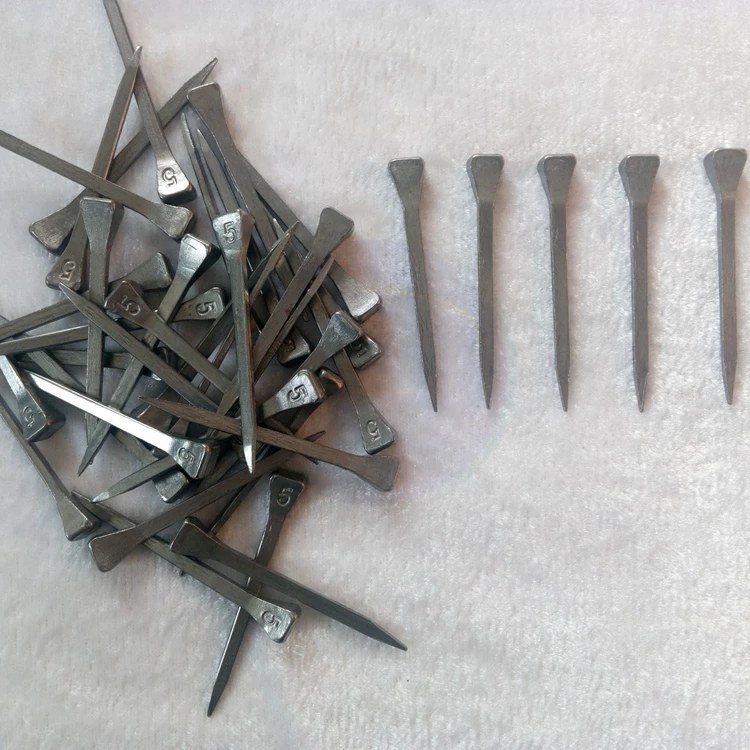
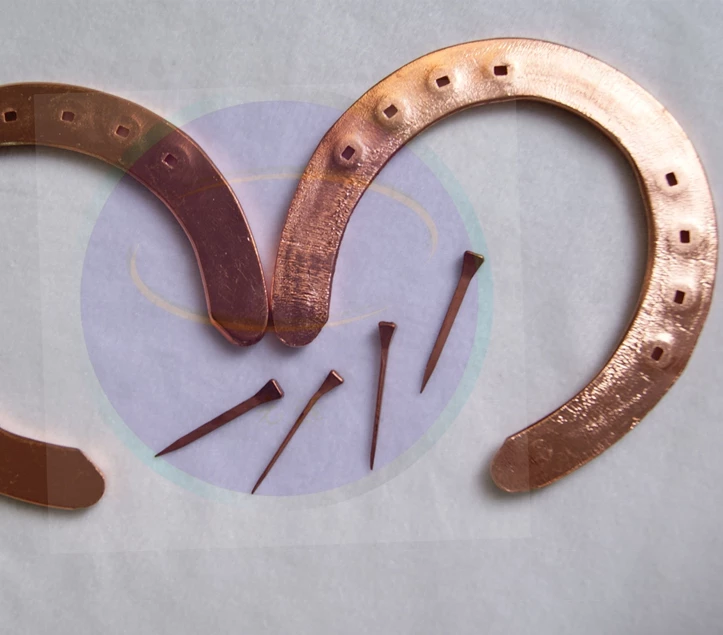
Horseshoe Nails: These secure the horseshoe to the hoof. Make sure you have the right size for your horse.
-
Hammer: A claw hammer is perfect for driving nails into the hoof wall.
-
Nail Clincher: This tool bends and secures the nails, keeping the horseshoe firmly in place.
Here’s a quick reference table for some of these tools:
|
Tool |
Description |
|---|---|
|
Hoof Nippers |
Trim excess hoof growth and shape the hoof. |
|
Nail Pullers |
Remove nails from the hoof during the shoeing process. |
|
Hoof Knife |
Clean and shape the hoof wall before shoe placement. |
|
Claw Hammer |
Drive nails into the hoof wall for attaching the horseshoe. |
|
Rasp |
Smooth and shape the hoof after shoe placement. |
Materials
Now that you’ve got your tools, let’s talk about materials. These are just as important for a successful horseshoe installation.
-
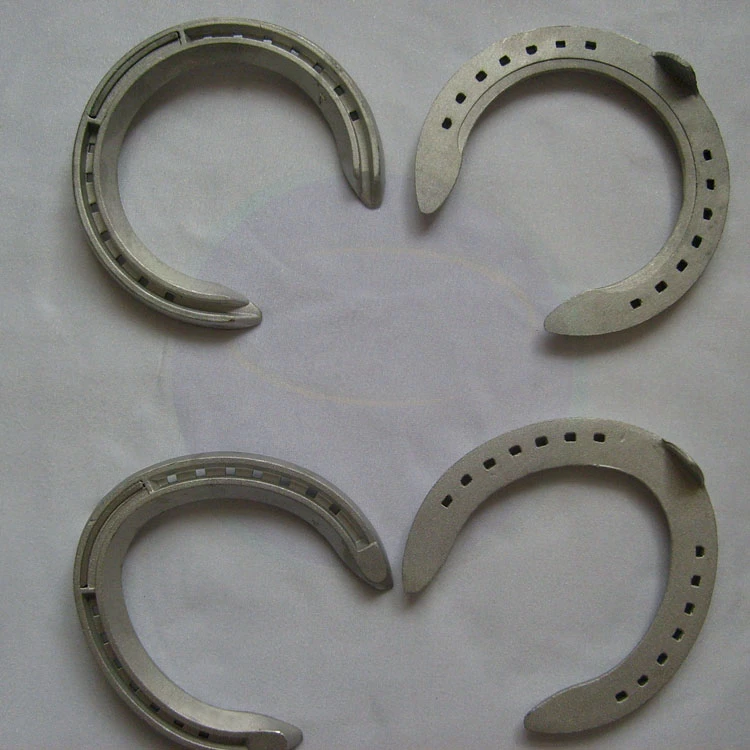
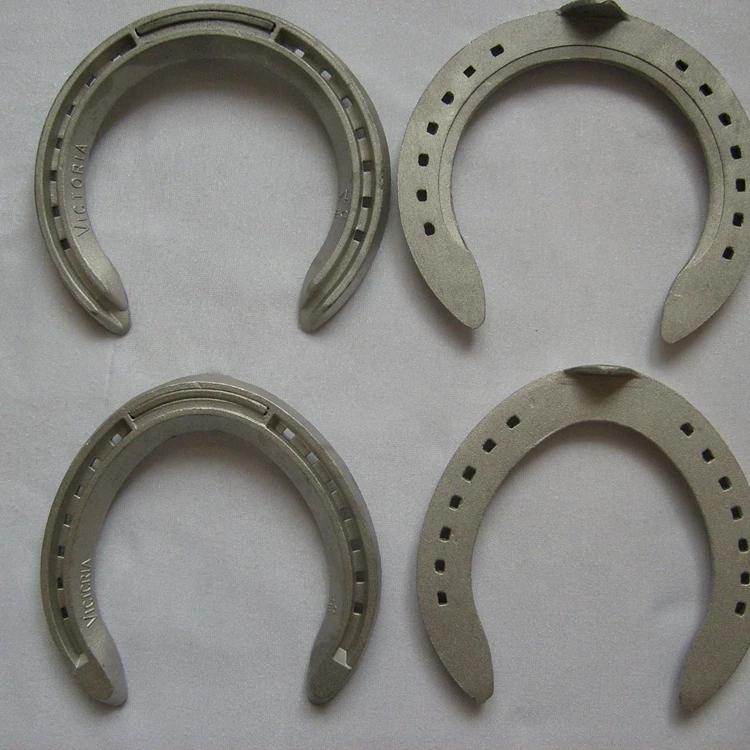
Horseshoes: Choose the right size and type for your horse. For example, plain shoes work for normal hoof conditions, while egg bar shoes provide extra heel support for horses with issues like laminitis.
-
Safety Gloves: Protect your hands while working with sharp tools and nails.
-
Hoof Stand (optional): This stand holds the horse’s hoof in place, making it easier to work on. It’s especially helpful for beginners.
Here’s a quick look at different types of horseshoes and their purposes:
|
Horseshoe Type |
Purpose |
Suitable For |
|---|---|---|
|
Plain Shoes |
Basic protection and support for normal hoof conditions. |
Horses with normal hoof conditions. |
|
Egg Bar Shoes |
Added support to the heel area for horses with hoof conditions. |
Horses with laminitis or similar issues. |
|
Studded Shoes |
Enhanced traction for activities like eventing or trail riding. |
Horses needing better grip on varied terrains. |
|
Racing Plates |
Lightweight design for optimal support and traction in races. |
Racehorses in high-speed competitions. |
Safety Gear
Safety should always come first. Working with horses and sharp tools can be risky, so make sure you’re prepared.
-
Protective Eyewear: Flying debris or nails can be dangerous. Wear safety glasses to protect your eyes.
-
Sturdy Boots: Horses are heavy, and accidents happen. A good pair of boots can protect your feet if the horse steps on you.
With these tools, materials, and safety gear, you’re ready to dive into the horseshoe installation process. Remember, preparation is key to a smooth and successful experience.
Preparation Steps for Horseshoe Installation Guide
Before you start attaching horseshoes, preparation is key. Taking the time to get both your horse and the materials ready ensures a smoother process and better results. Let’s break it down step by step.
Preparing the Horse
Ensuring the horse is calm and restrained
Your horse’s comfort and safety come first. Start by choosing a quiet area free from distractions. Horses can sense your energy, so stay calm and confident. Use a halter and lead rope to secure your horse, or tie them to a sturdy post if needed. If your horse seems nervous, consider having someone hold them for extra reassurance. A relaxed horse makes the process safer for both of you.
Cleaning the hooves with a hoof pick
Once your horse is calm, grab your hoof pick. Lift each hoof gently and remove dirt, stones, or debris lodged in the sole. Pay close attention to the grooves near the frog (the V-shaped part of the hoof). A clean hoof not only helps the horseshoe fit properly but also prevents infections. Always work carefully to avoid causing discomfort.
Preparing the Horseshoes
Selecting the correct size and type of horseshoe
Choosing the right horseshoe is crucial. Here’s how you can ensure a proper fit:
-
The hoof should sit flush with the horseshoe. Avoid shoes that make the hoof look like it’s standing on a platform.
-
The edges of the hoof shouldn’t hang over the shoe.
-
The metal horseshoe shouldn’t extend past the hoof’s edge.
-
Watch for signs of discomfort or lameness after installation, as these may indicate an improper fit.
If you’re unsure, consult a farrier. These professionals are trained to trim and shape hooves and select the perfect horseshoe for your horse.
Shaping the horseshoe to fit the hoof (if necessary)
Sometimes, horseshoes need adjustments to match the hoof’s shape. Start by removing the old shoe using pullers. Trim about 3/8 of an inch of the old hoof and cut a channel for nippers. Use nippers to trim the hoof wall, ensuring a flat surface. Finally, rasp the hoof to create a stable base for the new shoe. This step ensures proper alignment and balance.
Inspecting the horseshoe for any defects
Before attaching the horseshoe, inspect it closely. Look for cracks, sharp edges, or any irregularities. A defective horseshoe can cause discomfort or even injury. If you spot any issues, replace the shoe immediately. A quick inspection now can save you from bigger problems later.
By following these preparation steps, you’ll set yourself up for success. A well-prepared horse and properly fitted horseshoes are the foundation of a smooth installation process.
Step-by-Step Horseshoe Installation Guide
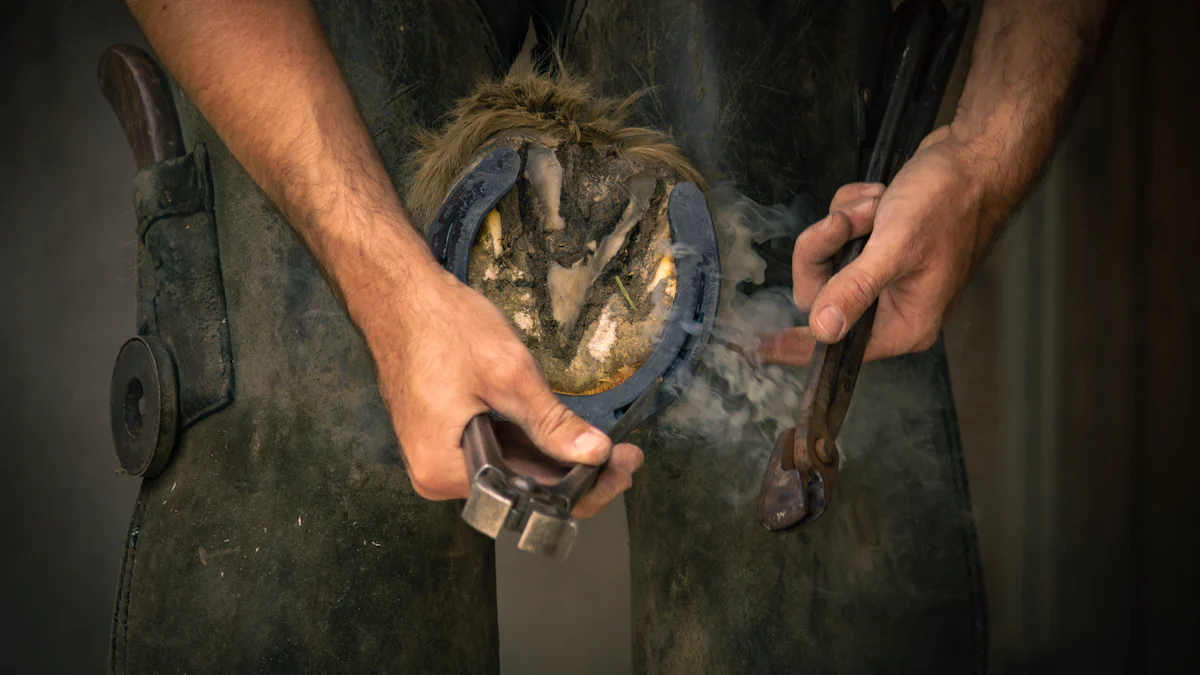
Removing Old Horseshoes
Loosening nails with a nail puller
Start by loosening the nails holding the old horseshoe in place. Use a nail puller or clinch cutter to straighten the nail clinches on the outside of the hoof. This step makes it easier to remove the shoe without damaging the hoof wall. Work carefully and methodically to avoid causing discomfort to your horse.
Gently removing the old horseshoe
Once the nails are loose, use pullers to gently pry the horseshoe off. Grip the shoe firmly and rock it back and forth to ease it off the hoof. Avoid pulling too hard, as this could harm the hoof. Take your time to ensure the shoe comes off smoothly.
Trimming and Shaping the Hoof
Using a hoof knife to trim excess growth
After removing the old shoe, clean the bottom of the hoof with a hoof pick and wire brush. Use a hoof knife to trim away any flaky or excess sole material. This step helps maintain hoof health and prevents infections. Be cautious not to cut too deeply into the sole.
Smoothing the hoof with a rasp
Next, use a rasp to flatten and level the hoof. This creates a smooth surface for the new horseshoe to sit on. Ensure the hoof is even and the correct angle is maintained. A flat, balanced hoof is essential for proper alignment and comfort.
Attaching the New Horseshoe
Positioning the horseshoe on the hoof
Select the appropriate horseshoe and position it on the hoof. The shoe should align with the hoof wall, and the nail holes should match the white line of the hoof. If the shoe doesn’t fit perfectly, you may need to adjust its shape using a hammer or bending tool.
Driving nails into the hoof wall
Once the shoe is in place, drive the nails into the hoof wall through the pre-drilled holes in the shoe. Work carefully to avoid hitting sensitive areas. Drive each nail at an angle so it exits the hoof wall cleanly. This technique ensures a secure hold without causing pain.
Clinching the nails for a secure fit
After driving the nails, use a nail clincher to bend and secure them. This step locks the horseshoe in place and prevents it from loosening over time. Check each nail to ensure it’s firmly clinched and doesn’t stick out, which could cause discomfort.
By following these steps, you’ll ensure a safe and effective horseshoe installation. With practice, this process will become second nature, and your horse will thank you for the care and attention.
Final Adjustments
Checking the fit and alignment
Once the horseshoe is attached, it’s time to check the fit. This step ensures your horse feels comfortable and the shoe stays secure. Start by looking at the hoof from all angles. The horseshoe should sit flush against the hoof wall without any gaps. If you notice uneven spots, you may need to adjust the shoe or recheck the hoof trimming.
Next, observe how the shoe aligns with the hoof. The edges of the shoe should match the hoof’s natural shape. If the shoe extends too far or doesn’t cover the hoof properly, it could cause discomfort or even injury. Run your fingers along the edges to feel for any misalignment.
Finally, take a few steps back and watch your horse walk. Pay attention to their gait. If they seem hesitant or uneven, the shoe might not be aligned correctly. A quick adjustment now can save your horse from long-term issues.
Pro Tip: Always double-check the alignment before moving on. A well-fitted horseshoe is key to your horse’s comfort and performance.
Filing down any sharp edges
After confirming the fit, grab your rasp and smooth out any sharp edges. This step prevents the shoe from catching on objects or injuring your horse. Focus on the edges of the horseshoe and the nail clinches. Sharp or protruding nails can cause irritation, so make sure they’re flush with the hoof wall.
Work carefully and methodically. Use short, controlled strokes with the rasp. Check your progress frequently by running your hand over the hoof. It should feel smooth and even.
When you’re done, inspect the hoof one last time. Look for any rough spots or sharp areas you might have missed. A polished finish not only looks professional but also keeps your horse safe.
Note: Filing isn’t just about aesthetics. It’s an important safety step in the horseshoe installation process.
By completing these final adjustments, you’ll ensure your horse is ready to go. With practice, these steps will become second nature, and you’ll feel confident in your skills. This Horseshoe Installation Guide is here to help you every step of the way!
Common Mistakes in Horseshoe Installation Guide
Even with the best intentions, mistakes can happen during horseshoe installation. Knowing what to avoid can save you and your horse a lot of trouble. Let’s look at some common errors and how to steer clear of them.
Incorrect Horseshoe Size
Choosing a shoe that is too small or too large
Picking the wrong horseshoe size is a frequent mistake. A shoe that’s too small can pinch the hoof, causing discomfort or even injury. On the other hand, a shoe that’s too large may shift or come loose, leading to instability. Always measure your horse’s hoof carefully before selecting a shoe. If you’re unsure, consult a farrier for guidance. Remember, a properly sized horseshoe should align perfectly with the hoof wall without overhanging or leaving gaps.
Tip: Keep a few different sizes on hand. This way, you can test the fit and choose the best one for your horse.
Over-trimming the Hoof
Removing too much hoof material
It’s easy to get carried away when trimming the hoof, but over-trimming can lead to serious problems. Here’s what might happen:
-
Uneven hoof balance can affect your horse’s gait.
-
Wall separation and bruising may occur.
-
Crushed heels or blown quarters could develop over time.
To avoid these issues, focus on gradual adjustments. Trim only what’s necessary to create a flat, even surface. Always prioritize your horse’s comfort and well-being. If you’re new to this, practice on small sections and check your progress frequently.
Note: When in doubt, leave a little extra material. You can always trim more later, but you can’t undo over-trimming.
Misaligned Horseshoes
Improper positioning leading to discomfort
Positioning the horseshoe incorrectly can cause your horse pain and affect their mobility. A misaligned shoe might press against sensitive areas or fail to provide proper support. To prevent this, double-check the alignment before nailing the shoe in place. The horseshoe should follow the natural shape of the hoof and sit flush against the hoof wall.
After installation, observe your horse’s movement. If they seem uncomfortable or their gait looks off, the shoe might need adjustment. Taking the time to get it right ensures your horse stays happy and healthy.
Pro Tip: Use a hoof stand to keep the hoof steady while you work. It makes alignment much easier!
By avoiding these common mistakes, you’ll improve your horseshoe installation skills and keep your horse comfortable and safe. Practice makes perfect, so don’t get discouraged if it takes a few tries to get it right!
Using Dull Tools
Inefficient trimming and potential injury
Using dull tools might seem like a minor issue, but it can lead to big problems during horseshoe installation. Imagine trying to cut a steak with a butter knife—it’s frustrating and ineffective. The same goes for trimming a horse’s hoof with a dull hoof knife or rasp. You’ll end up working harder, taking longer, and possibly causing harm to your horse.
Here’s why sharp tools are essential:
-
Precision and Efficiency: Sharp tools let you trim and shape the hoof quickly and accurately. Dull tools, on the other hand, can slip or snag, making the process uneven and messy.
-
Reduced Risk of Injury: A dull blade requires more force, increasing the chance of accidental slips. This could harm you or your horse.
-
Better Results: A sharp rasp smooths the hoof surface evenly, ensuring the horseshoe fits snugly. Dull tools leave rough edges, which can cause discomfort or misalignment.
Tip: Always check your tools before starting. If your hoof knife doesn’t glide smoothly or your rasp feels rough, it’s time to sharpen or replace them.
You might wonder, “How do I keep my tools sharp?” It’s easier than you think! Use a sharpening stone or file to maintain the edge of your hoof knife. For rasps, replace them when they lose their grit. Store your tools in a dry place to prevent rust, and clean them after each use.
Pro Tip: Invest in high-quality tools. They stay sharp longer and make your job much easier.
By keeping your tools in top condition, you’ll save time, avoid injuries, and ensure your horse gets the best care possible. Remember, sharp tools aren’t just a luxury—they’re a necessity for safe and effective horseshoe installation.
Maintenance Tips for Horseshoe Installation Guide
Keeping your horse’s hooves in top shape doesn’t stop after installing horseshoes. Regular maintenance ensures your horse stays comfortable and performs at its best. Let’s dive into some essential tips to keep those hooves healthy and those shoes secure.
Regular Inspections
Checking for loose nails or wear
Daily inspections are a must. Take a few minutes each day to check your horse’s hooves. Look for loose nails, uneven wear, or any signs of damage to the horseshoe. A quick glance can save you from bigger problems later.
Here’s what you should do:
-
Inspect the shoes daily to ensure they’re secure and functional.
-
Clean the hooves with a hoof pick to remove debris.
-
Schedule trimming or shoeing every 4 to 6 weeks.
-
Work with a farrier to maintain hoof balance and health.
Factors like your horse’s age, activity level, and environment can affect how often you need to inspect and maintain their hooves. Staying consistent with these checks will keep your horse happy and healthy.
Cleaning the Hooves
Removing dirt and debris regularly
Cleaning your horse’s hooves isn’t just about keeping them tidy—it’s essential for their health. Use a hoof pick daily to remove dirt, mud, and stones that can get trapped. Pay extra attention to the grooves near the frog, as these areas are prone to infections.
For horses in heavy work, clean their hooves before and after each ride. Horses in light work or pasture should still have their hooves cleaned daily. Regular cleaning prevents issues like thrush and keeps the horseshoes in good condition.
Tip: Keep tools like a hoof pick, hoof knife, and hoof nippers handy. These make cleaning and trimming easier and more effective.
Scheduling Professional Checkups
Consulting a farrier for periodic maintenance
Even if you’re confident in your skills, a professional farrier is your best ally. Regular checkups with a farrier prevent severe conditions and reduce the risk of lameness. They also ensure the hoof angle stays correct, which is crucial for your horse’s comfort.
Here’s a quick look at why farrier visits matter:
|
Benefit of Regular Checkups |
Explanation |
|---|---|
|
Prevents Severe Conditions |
Regular hoof care prevents issues that affect comfort and performance. |
|
Reduces Lameness Risk |
80% of lameness cases start in the lower limb, often due to hoof neglect. |
|
Maintains Proper Hoof Angle |
Hoof angle decreases over time without regular care, leading to increased force on tendons. |
|
Collaboration with Veterinarians |
A team approach between farrier and vet enhances overall horse health. |
Schedule farrier visits every 4 to 6 weeks for horses wearing shoes. This keeps the shoes secure and ensures the hooves stay balanced. A farrier’s expertise complements your efforts and keeps your horse in peak condition.
By following these maintenance tips, you’ll extend the life of your horseshoes and keep your horse comfortable. Regular care is the key to success in your horseshoe installation journey.
Replacing Worn Horseshoes
Monitoring wear and replacing as needed
Horseshoes don’t last forever. Over time, they wear down, loosen, or even break. Keeping an eye on their condition is essential for your horse’s comfort and safety. So, how do you know when it’s time to replace them? Let’s break it down.
Start by inspecting the horseshoes regularly. Look for signs of wear, like thinning metal or uneven edges. If the shoe looks lopsided or has sharp spots, it’s time for a replacement. Loose nails are another red flag. They can cause the shoe to shift, which might lead to discomfort or injury.
Tip: Check the horseshoes every week. It only takes a few minutes and can save you from bigger problems later.
Pay attention to how your horse moves. Are they stumbling more often? Do they seem hesitant to walk on certain surfaces? These could be signs that the shoes aren’t providing enough support anymore.
Here’s a quick checklist to help you monitor wear:
-
Thinning Metal: Is the shoe noticeably thinner than when it was installed?
-
Loose Nails: Are any nails sticking out or missing?
-
Uneven Wear: Does one side of the shoe look more worn than the other?
-
Cracks or Breaks: Are there visible cracks in the metal?
If you notice any of these issues, don’t wait. Replace the horseshoes as soon as possible. Worn shoes can lead to hoof damage, which takes longer to fix.
Pro Tip: Keep a spare set of horseshoes on hand. That way, you’re always prepared for a quick replacement.
By staying proactive, you’ll keep your horse comfortable and avoid unnecessary stress. Regular monitoring makes all the difference in maintaining healthy hooves and happy rides.
Proper horseshoe installation is essential for your horse’s health and performance. By following the steps in this Horseshoe Installation Guide, you’ll protect your horse’s hooves, improve their mobility, and keep them comfortable. Start by mastering the basics, like using consistent hammer blows to create a flat, level fit. Practice proper hammer techniques to avoid injuries and build confidence in your skills.
Don’t hesitate to seek help from a farrier if you’re unsure. Their expertise can guide you as you learn. Always prioritize safety and regular maintenance to keep your horse happy and healthy. With time and effort, you’ll become skilled at this rewarding craft.
Remember, every step you take improves your horse’s well-being. Keep practicing, stay patient, and enjoy the journey!
FAQ
What is the best way to calm a nervous horse during horseshoe installation?
You can calm your horse by working in a quiet area and speaking softly. Use a halter and lead rope to keep them secure. If they’re still uneasy, ask someone they trust to hold them. Patience and a calm demeanor go a long way.
Tip: Reward your horse with treats or gentle strokes to build trust.
How often should I replace my horse’s horseshoes?
Replace horseshoes every 4 to 6 weeks. This depends on your horse’s activity level and hoof growth. Regular inspections help you spot wear or loose nails early. Don’t wait too long, as worn shoes can harm your horse’s hooves.
Pro Tip: Keep a schedule or set reminders to stay consistent.
Can I install horseshoes without professional help?
Yes, but it takes practice. Start by learning the basics and using the right tools. Follow this guide step by step. If you’re unsure, consult a farrier for advice. Safety and your horse’s comfort should always come first.
Note: Watching tutorial videos can help you understand the process better.
What should I do if a horseshoe comes loose?
Remove the loose shoe immediately to prevent injuries. Clean the hoof and inspect it for damage. If you can’t reattach the shoe yourself, call a farrier. Avoid riding your horse until the shoe is secure again.
Warning: Never leave a loose horseshoe on—it can cause serious harm.
How do I choose the right horseshoe for my horse?
Pick a horseshoe that matches your horse’s hoof size and activity. For example, plain shoes work for everyday use, while studded shoes provide extra grip for rough terrain. Consult a farrier if you’re unsure about the best option.
Tip: Always inspect the horseshoe for defects before using it.