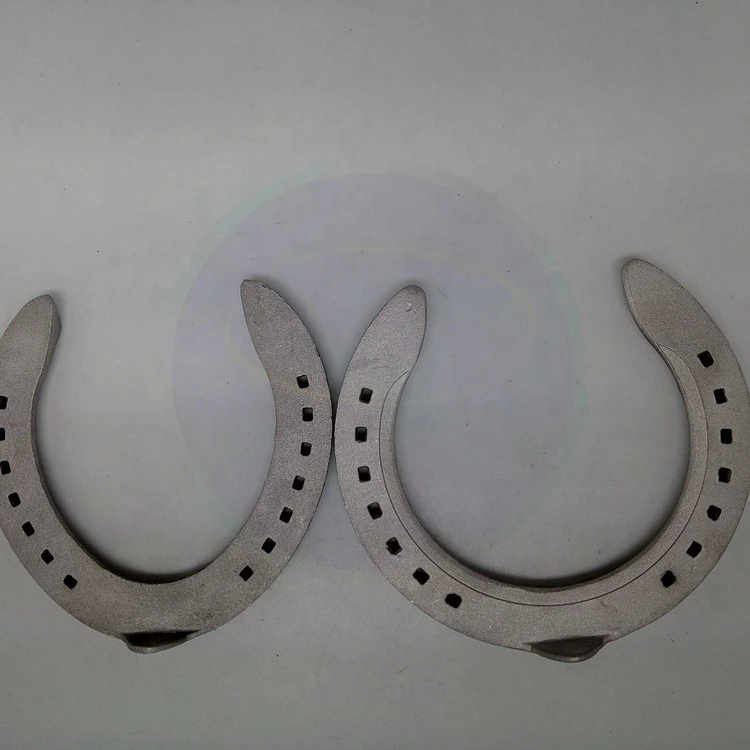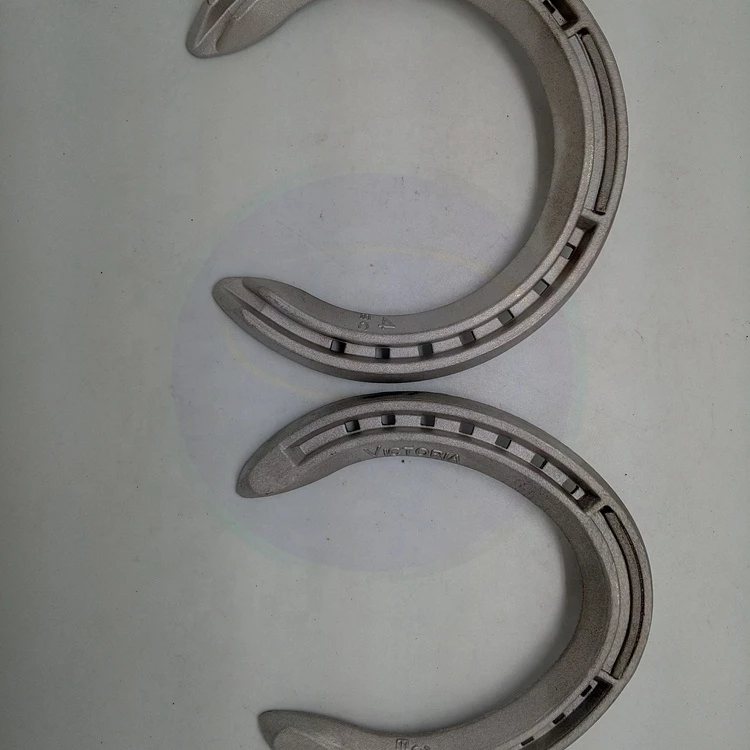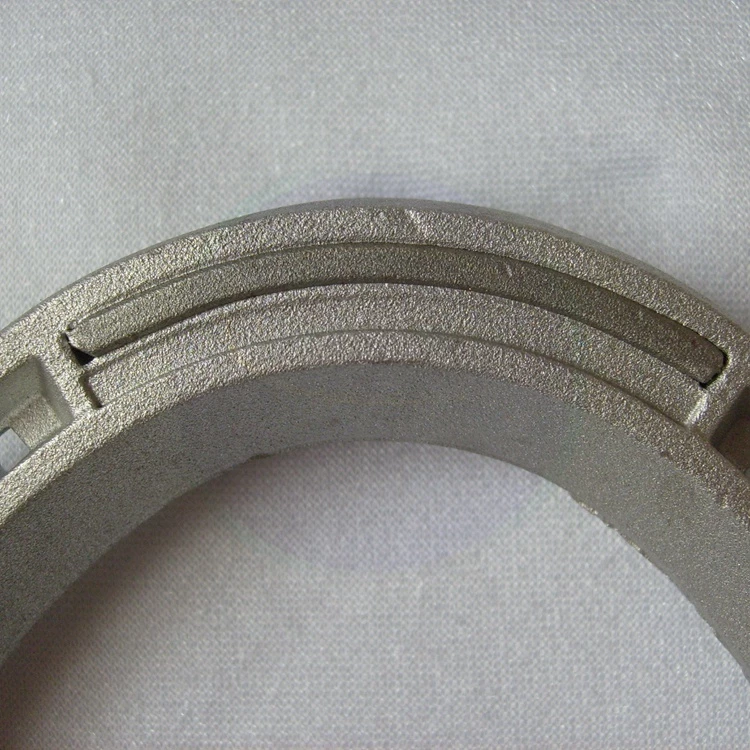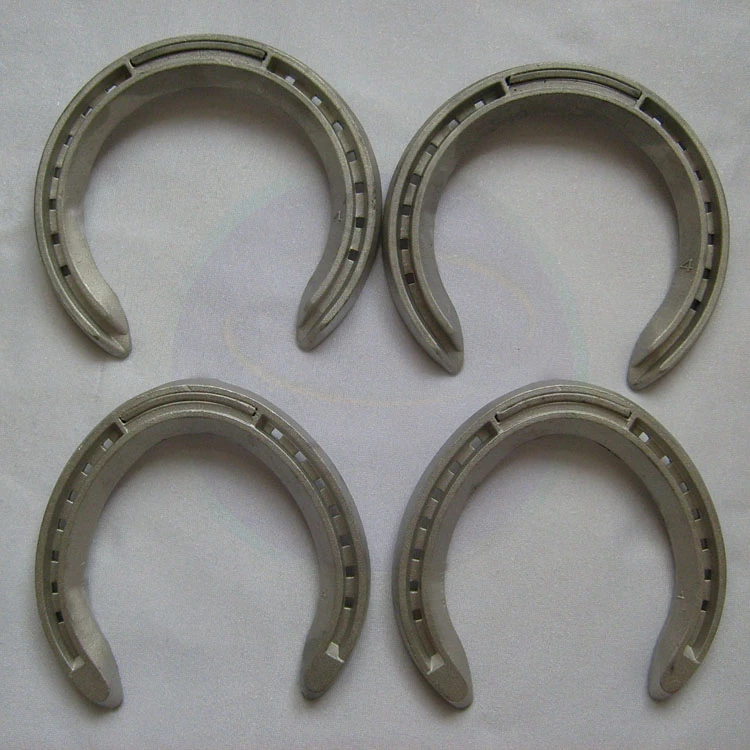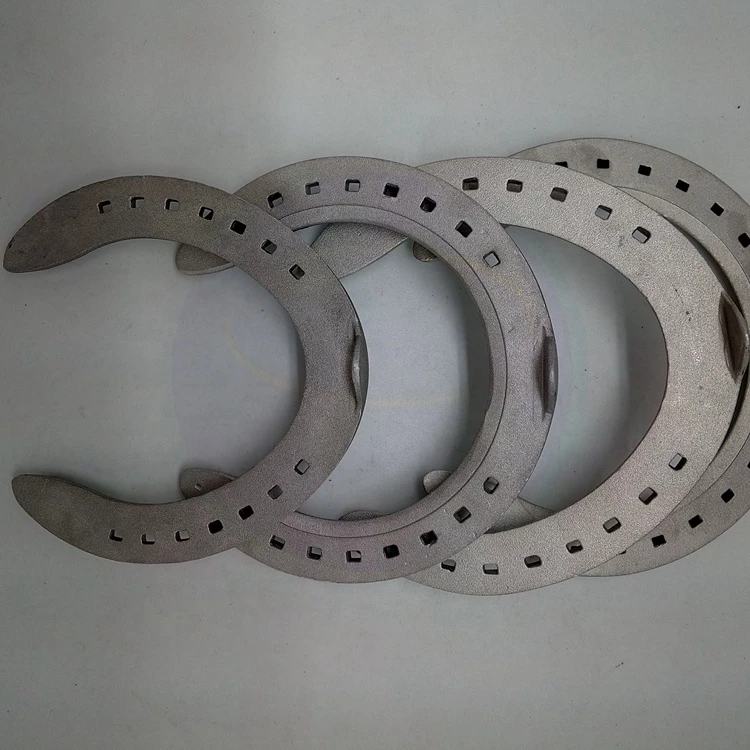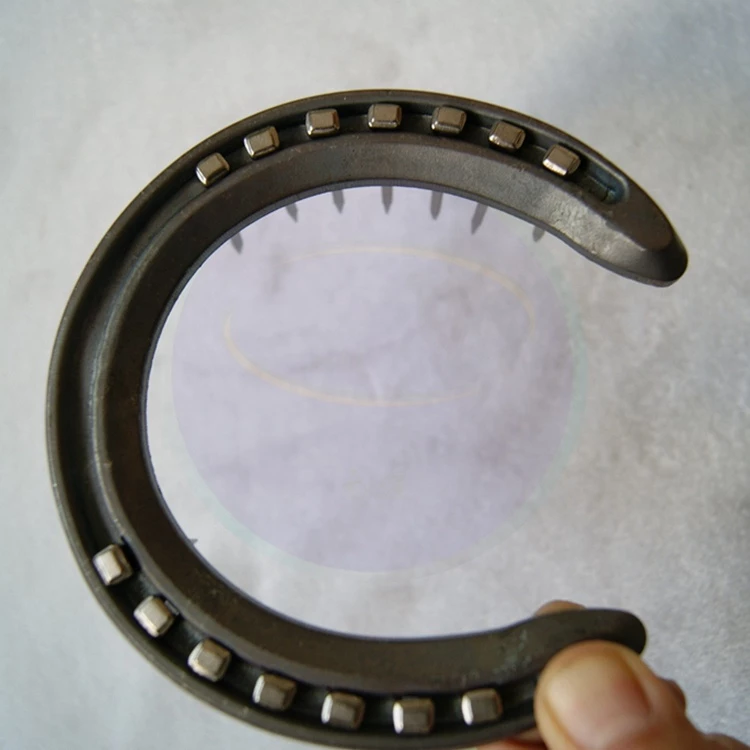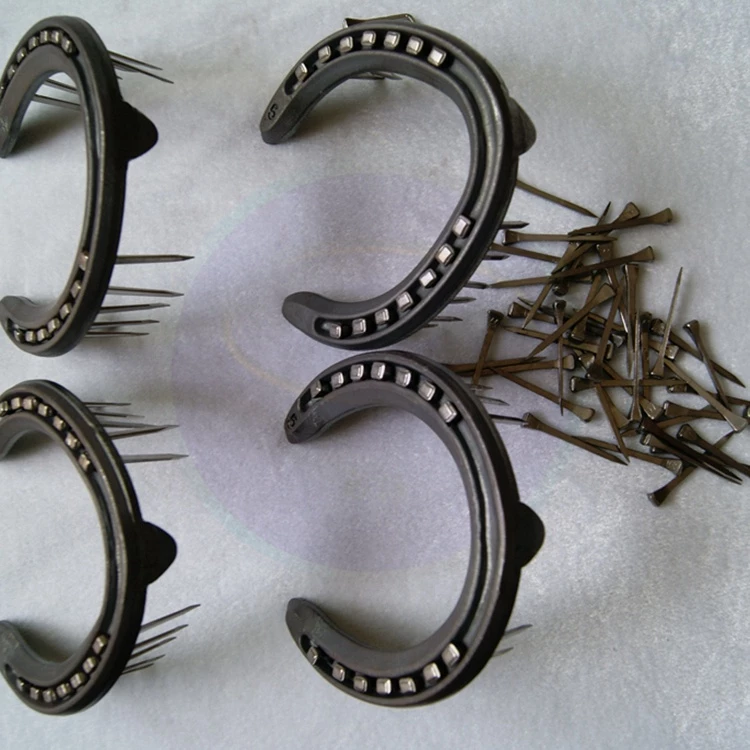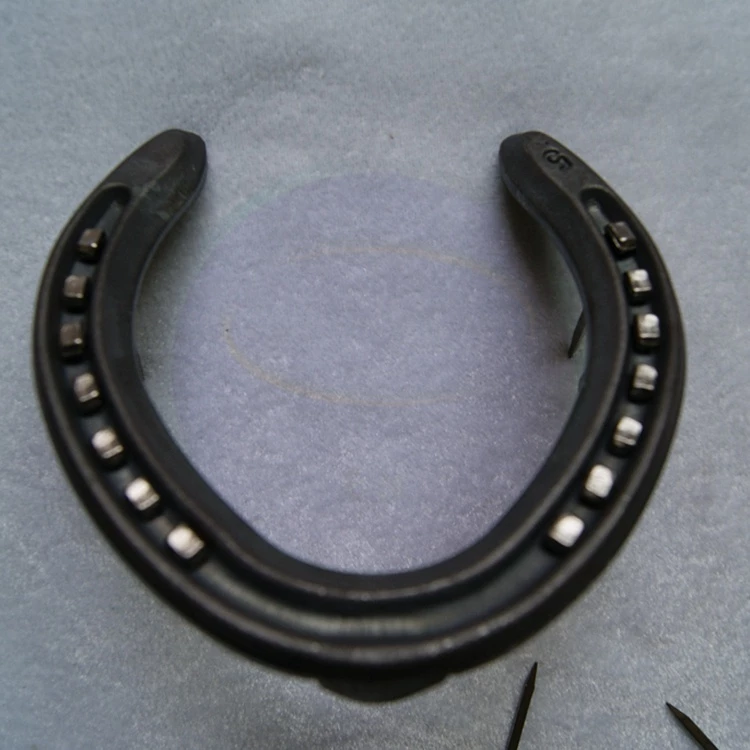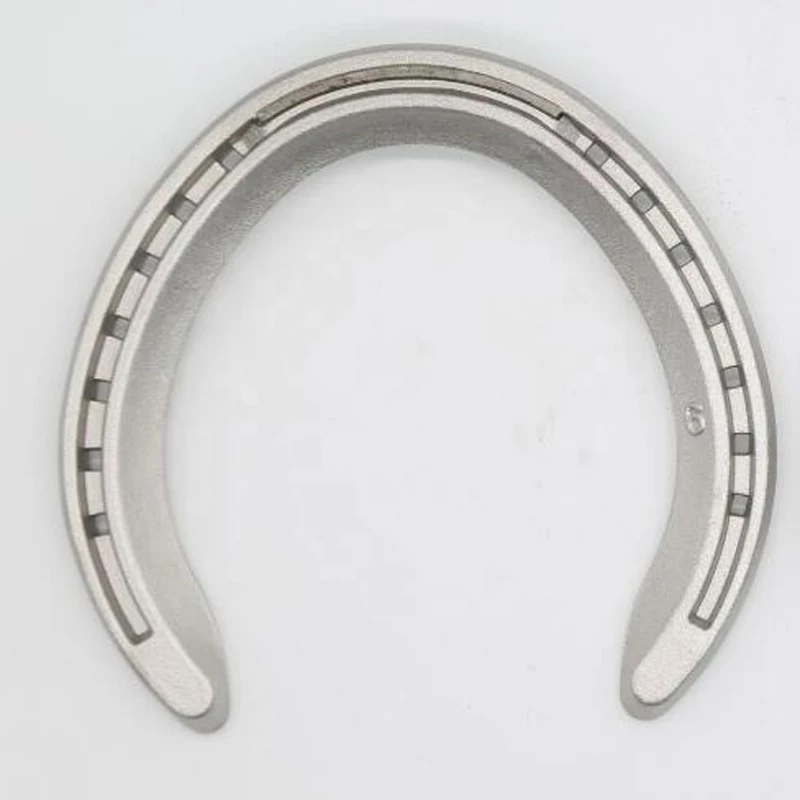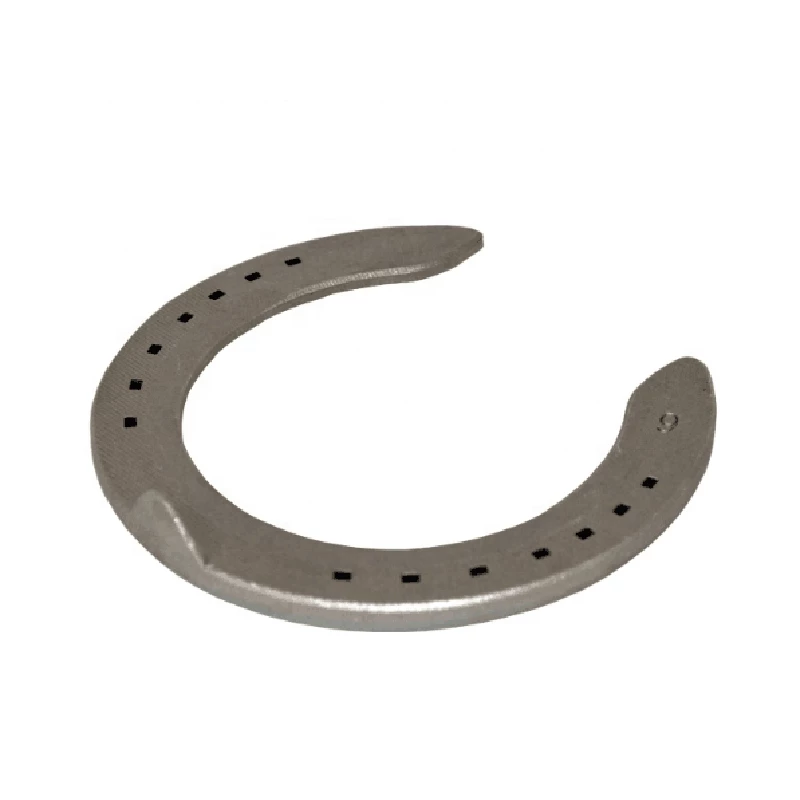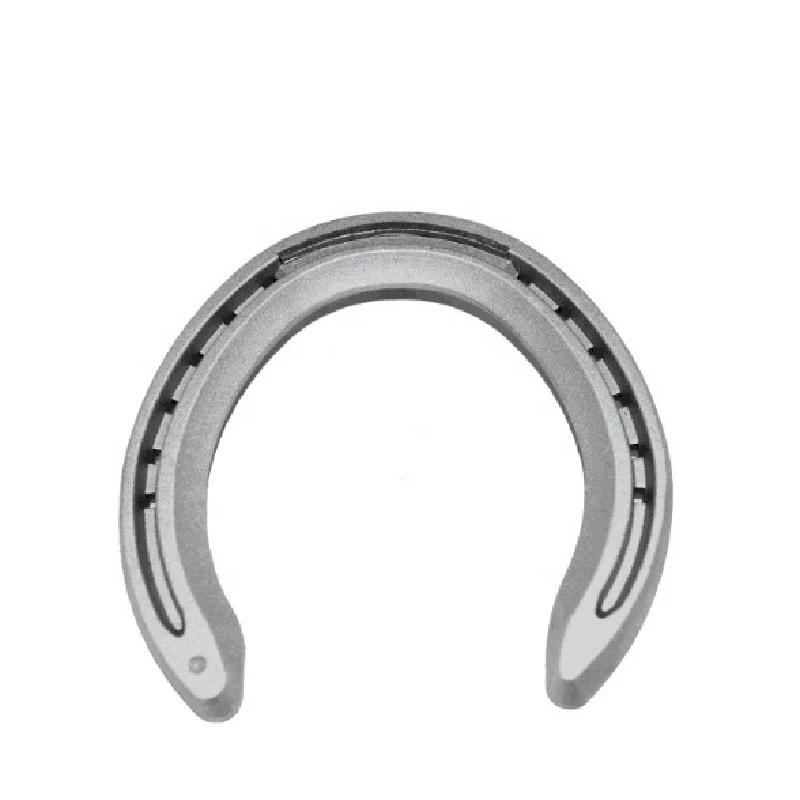

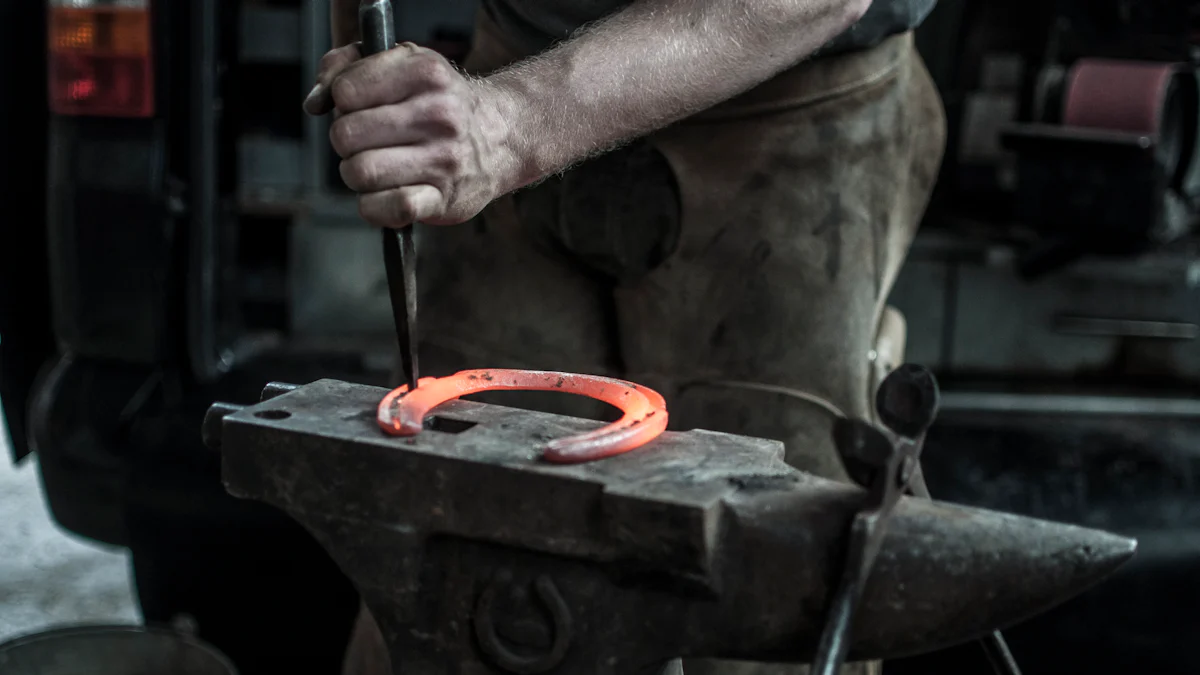
Creating horseshoe blueprints demands precision and the right tools. You need to ensure every measurement is accurate to achieve a perfect fit. Modern CAD software, such as AutoCAD, SolidWorks, and Fusion 360, offers advanced features for detailed designs. If you prefer traditional methods, manual drafting tools like rulers and compasses can help you craft precise layouts. Your choice of tools depends on your experience, the complexity of your project, and your budget. UnderstandingHow to design horseshoe starts with selecting the right resources to bring your ideas to life.
Key Takeaways
- Pick tools that match your skill level. Beginners can use easy software like SketchUp or simple drawing tools.
- Focus on making accurate designs. Use CAD software for exact work or rulers and compasses for older methods.
- Think about your project and money. Free tools work for small projects, but paid ones have more features for harder designs.
- Look into customizing options. Many tools let you change sizes and finishes to make special horseshoe designs.
- Try software before buying. Use free trials to see what works best and save money.
Essential Features to Look for in Horseshoe Design Tools
Precision and Accuracy
Accurate measurements are critical when designing horseshoes. A poorly measured horseshoe can cause discomfort or even injury to the horse. You need tools that guarantee precision to ensure a perfect fit. Modern design tools offer features that enhance accuracy, such as:
- Horseshoe Design: Enables quick adjustments for close-to-mid-range fitting.
- Illumination: Improves visibility in low-light conditions, ensuring precise measurements.
- Adaptability: Performs consistently in various lighting environments.
These features help you maintain dimensional accuracy, whether you're working on a simple 2D blueprint or a complex 3D model.
User-Friendliness
The best tools cater to both beginners and professionals. If you're new to horseshoe design, look for software with intuitive interfaces. These tools simplify the learning process and allow you to focus on creativity. For professionals, advanced features are essential. Here's a breakdown of what experts often seek:
| Feature | Description |
|---|---|
| Detailed analysis | Examines trimming plans to improve design precision. |
| Customized ranges | Creates standard models tailored to specific parameters. |
| 3D analysis | Configures 3D models for accurate fitting assessments. |
| Customized design | Designs fittings based on 3D scans for optimal comfort. |
These features streamline your workflow and elevate the quality of your designs.
Customization and Flexibility
Customization is key to creating unique horseshoe designs. Many tools allow you to define sizes, parameters, and finishes. Some even support 3D scans for made-to-measure fittings. Popular customization options include:
| Customization Feature | Description |
|---|---|
| Detailed analysis of trimming plans | Optimizes farrier work with tailored strategies. |
| Creation of customized ranges | Defines specific sizes and finishes for horseshoes. |
| Design of made-to-measure fittings | Ensures a perfect fit based on precise measurements. |
| Access to a library of combinations | Offers thousands of design possibilities. |
These options give you the flexibility to adapt your designs to any horse's needs. Whether you're a beginner or a seasoned professional, understanding How to design horseshoe becomes easier with tools that offer such versatility.
Cost and Accessibility
Free vs. Paid Tools
When choosing tools for horseshoe design, you need to weigh the benefits of free and paid options. Free tools often provide basic features, making them ideal for beginners or simple projects. For example, SketchUp offers a free version that is user-friendly and perfect for 2D designs. However, free tools may lack advanced features like 3D modeling or customization options.
Paid tools, on the other hand, deliver more robust capabilities. Software like AutoCAD and SolidWorks includes precise drafting tools, 3D modeling, and compatibility with various file formats. These features make them suitable for professional or complex projects. While paid tools require an upfront investment, they often save time and improve the quality of your designs.
Tip: Start with free tools if you are new to horseshoe design. Upgrade to paid software as your skills and project needs grow.
Cloud-Based vs. Desktop Software
You also need to decide between cloud-based and desktop software. Cloud-based tools, such as Fusion 360, allow you to work from anywhere with an internet connection. These tools often include automatic updates and collaboration features, making them great for teams or remote work. However, they may have limited offline functionality, which can be a drawback if you work in areas with poor internet access.
Desktop software, like AutoCAD, runs directly on your computer. It provides reliable performance without depending on internet connectivity. This option is ideal for users who prefer working offline or need high processing power for complex designs. However, desktop software may require more storage space and regular manual updates.
Note: If you frequently collaborate with others, cloud-based tools offer better flexibility. For offline work, desktop software ensures uninterrupted productivity.
By understanding the cost and accessibility of these tools, you can make an informed decision that aligns with your budget and workflow.
Top Software Recommendations for Horseshoe Blueprint Design

AutoCAD
Pros: Industry standard, precise drafting tools
AutoCAD is a powerful tool for creating detailed horseshoe blueprints. It has earned its reputation as an industry standard due to its precise drafting capabilities. You can use it to create both 2D and 3D designs with unmatched accuracy. AutoCAD also supports a wide range of file formats, making it easy to share your work with others. Its advanced features allow you to customize every aspect of your design, ensuring a perfect fit for any horse.
Cons: Steep learning curve, expensive
However, AutoCAD is not beginner-friendly. You may find its interface overwhelming if you are new to design software. The cost is another drawback. AutoCAD requires a significant financial investment, which might not suit hobbyists or small-scale projects.
SolidWorks
Pros: 3D modeling capabilities, ideal for complex designs
SolidWorks excels in 3D modeling, making it ideal for complex horseshoe designs. You can use its advanced tools to simulate real-world conditions, ensuring your design performs well. SolidWorks also offers a variety of customization options, allowing you to create unique and functional horseshoes. Its robust features make it a favorite among professionals working on intricate projects.
Cons: Requires advanced skills, high cost
SolidWorks is not suitable for beginners. You need advanced skills to navigate its interface and use its features effectively. The software is also expensive, which may deter users with limited budgets.
Fusion 360
Pros: Cloud-based, affordable for small businesses
Fusion 360 is a versatile tool that combines affordability with functionality. Its cloud-based platform allows you to access your designs from anywhere. This feature is especially useful for small businesses or teams working remotely. Fusion 360 also includes collaborative tools, making it easier to share and edit designs with others. Despite its lower cost, it offers many features found in more expensive software.
Cons: Limited offline functionality
The main limitation of Fusion 360 is its reliance on an internet connection. If you work in areas with poor connectivity, you may face challenges accessing your projects. Its offline capabilities are limited, which could disrupt your workflow.
By exploring these software options, you can find the right tool to match your needs. Whether you prioritize precision, 3D modeling, or affordability, these tools can help you master How to design horseshoe.
SketchUp
Pros: Beginner-friendly, free version available
SketchUp is an excellent choice if you are new to horseshoe design. Its intuitive interface makes it easy to learn, even if you have no prior experience with design software. The free version provides all the basic tools you need to create simple 2D and 3D blueprints. You can quickly sketch out your ideas and experiment with different designs.
One of SketchUp’s standout features is its large online library, known as the 3D Warehouse. This resource allows you to access pre-made models and templates, saving you time and effort. You can also customize these models to suit your specific needs. If you want to upgrade, the paid version offers additional features, such as advanced rendering tools and enhanced export options.
Tip: Start with the free version to get comfortable with the software. Once you master the basics, consider upgrading to unlock more advanced capabilities.
Cons: Limited advanced features
While SketchUp is great for beginners, it may not meet the needs of professional designers. The free version lacks advanced tools for detailed customization and precision. For example, it does not support complex 3D modeling or simulation features. If your project requires intricate designs, you might find SketchUp’s capabilities too limited.
Additionally, the software’s rendering quality is not as high as other professional tools. This limitation can affect the final presentation of your designs. If you need highly detailed or realistic models, you may need to explore other options.
Microsoft Visio
Pros: Versatile, suitable for 2D blueprints
Microsoft Visio is a versatile tool that works well for creating 2D horseshoe blueprints. Its drag-and-drop interface simplifies the design process, allowing you to focus on your ideas. You can use Visio to create detailed diagrams, charts, and layouts with ease.
Visio also integrates seamlessly with other Microsoft Office applications. This feature makes it easy to share your designs or include them in reports and presentations. If you already use Microsoft Office, you will find Visio’s interface familiar and easy to navigate.
Cons: Limited 3D capabilities
Visio’s primary limitation is its lack of 3D modeling features. If your project requires 3D designs or simulations, this tool may not be the best choice. It is better suited for simple 2D blueprints and diagrams.
Additionally, Visio’s advanced features are only available in the paid version. If you are on a tight budget, you might find the cost prohibitive. However, for basic 2D designs, Visio remains a reliable and user-friendly option.
SmartDraw
Pros: Extensive library of templates, user-friendly
SmartDraw is a user-friendly tool that offers an extensive library of templates. These templates cover a wide range of design needs, including horseshoe blueprints. You can use them to jumpstart your project and save time.
The software’s intuitive interface makes it easy to customize templates or create designs from scratch. SmartDraw also includes collaboration features, allowing you to share your work with others. This feature is especially useful if you are working as part of a team.
Note: SmartDraw’s cloud-based platform ensures you can access your designs from any device with an internet connection.
Cons: Subscription-based pricing
The main drawback of SmartDraw is its subscription-based pricing model. While the software offers a free trial, you will need to pay a monthly or annual fee to access its full features. This cost can add up over time, especially for hobbyists or small-scale projects.
Additionally, SmartDraw’s advanced features may not be as robust as those found in professional-grade software. If you need highly detailed or complex designs, you might need to consider other options.
Edraw Max
Pros: Easy to use, supports basic 2D blueprints
Edraw Max stands out as a beginner-friendly tool for designing horseshoe blueprints. Its intuitive interface allows you to start creating designs without spending hours learning the software. You can quickly navigate through its features, making it an excellent choice if you are new to blueprint design.
One of the most appealing aspects of Edraw Max is its support for basic 2D blueprints. The software provides a wide range of pre-made templates that you can customize to suit your needs. These templates save time and help you focus on refining your designs. If you prefer starting from scratch, Edraw Max offers simple tools like drag-and-drop shapes, grids, and alignment guides to help you create clean and professional-looking blueprints.
Another advantage is its compatibility with multiple file formats. You can export your designs as PDFs, images, or even Microsoft Office files. This flexibility makes it easy to share your work with others or include it in presentations.
Tip: If you are just starting out, Edraw Max can help you build confidence in your design skills. Use its templates to practice and gradually explore more advanced features.
Cons: Limited advanced features for professionals
While Edraw Max excels at simplicity, it may not meet the needs of professional designers. The software lacks advanced tools for 3D modeling or detailed customization. If your project requires intricate designs or simulations, you might find Edraw Max too basic.
Additionally, its rendering capabilities are limited compared to high-end software like AutoCAD or SolidWorks. This limitation can affect the precision and realism of your designs. For large-scale or complex projects, you may need to invest in more robust tools.
Note: Edraw Max works best for simple 2D designs. If you aim to create highly detailed or technical blueprints, consider exploring other software options.
Tools for Manual Horseshoe Blueprint Design
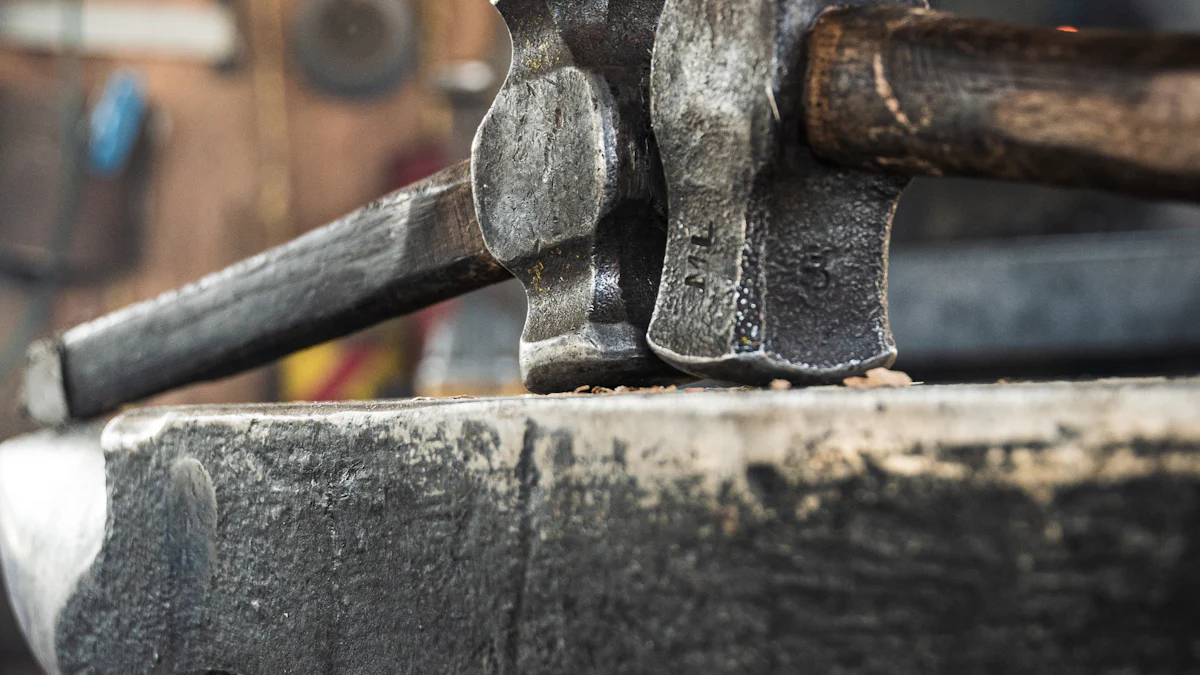
Drafting Tools
Rulers, compasses, and protractors for precise measurements
When designing horseshoes manually, precision is your top priority. Tools like rulers, compasses, and protractors help you achieve accurate measurements. A ruler ensures straight lines and consistent dimensions. A compass allows you to draw perfect curves, which are essential for the horseshoe's shape. A protractor helps you measure and create precise angles. These tools work together to give your design a professional look.
Tip: Invest in high-quality drafting tools. Durable materials like stainless steel or aluminum ensure long-term accuracy and reliability.
Mechanical pencils and erasers for clean designs
Mechanical pencils are ideal for manual drafting. They provide consistent line thickness, which improves the clarity of your blueprint. Unlike regular pencils, they don’t require sharpening, saving you time. Pair your pencil with a good eraser to correct mistakes without smudging your work. Clean designs make it easier to transfer your blueprint into a final product.
Note: Use pencils with fine leads (e.g., 0.5mm or 0.7mm) for detailed work. Keep extra erasers handy for quick corrections.
Templates and Stencils
Pre-made horseshoe templates for quick designs
Pre-made templates simplify the design process. These templates come with standard horseshoe shapes and sizes, allowing you to trace them directly onto your paper. They save time and ensure consistency, especially if you’re creating multiple designs.
Tip: Look for templates made from durable plastic. They resist wear and tear, ensuring long-term usability.
Custom stencils for unique shapes
If you want to create unique horseshoe designs, custom stencils are your best option. You can make these stencils using materials like cardboard or acrylic sheets. Custom stencils allow you to experiment with different shapes and sizes, giving your designs a personal touch.
Pro Tip: Use a craft knife and a cutting mat to create precise custom stencils. This method ensures clean edges and accurate shapes.
Graph Paper and Blueprint Paper
Benefits of using graph paper for scaling
Graph paper is an excellent tool for scaling your designs. Its grid layout helps you maintain proportionality, making it easier to create accurate blueprints. You can use the squares to measure distances and angles without additional tools. This feature is especially useful for beginners learning to draft.
Tip: Choose graph paper with smaller grid sizes (e.g., 1/4 inch or 5mm) for more detailed designs.
Blueprint paper for professional presentations
Blueprint paper elevates the presentation of your designs. Its high-quality material and professional appearance make it ideal for showcasing your work to clients or collaborators. You can use it to create final versions of your horseshoe blueprints.
Note: Use a lightbox or tracing table to transfer your design onto blueprint paper. This technique ensures clean and precise lines.
By mastering these manual tools, you can create detailed and professional horseshoe blueprints. Whether you’re a beginner or an experienced designer, these tools provide the foundation for high-quality work.
Tips for Choosing the Right Tool or Software
Assess Your Skill Level
Beginner-friendly tools for new designers
If you are just starting with horseshoe design, choose tools that are easy to learn. Beginner-friendly software like SketchUp or Edraw Max offers simple interfaces and basic features. These tools help you focus on learning the fundamentals without overwhelming you. Manual drafting tools, such as rulers and graph paper, are also great for beginners. They allow you to practice precision and scaling without needing technical expertise.
Tip: Start with free or low-cost tools to build confidence before investing in advanced software.
Advanced software for experienced professionals
If you have experience in design, advanced software like AutoCAD or SolidWorks will suit your needs. These tools provide precise drafting capabilities, 3D modeling, and customization options. They are ideal for creating complex designs or working on professional projects. However, they require a higher skill level and more time to master.
Pro Tip: Take online courses or tutorials to maximize the potential of advanced software.
Consider Your Project Needs
Simple designs vs. complex 3D models
For simple designs, use tools like Microsoft Visio or manual drafting methods. These options are quick and effective for creating 2D blueprints. For complex 3D models, choose software like Fusion 360 or SolidWorks. These tools allow you to simulate real-world conditions and refine your designs.
Budget constraints and project timelines
Your budget plays a significant role in tool selection. Free tools like SketchUp are perfect for small projects or hobbyists. Paid software, while costly, saves time and enhances quality for larger projects. Consider your project timeline as well. If you need quick results, opt for user-friendly tools with pre-made templates.
Note: Balance your budget and project requirements to find the most efficient solution.
Test Before Committing
Free trials and demos for software
Many software providers offer free trials or demos. Use these opportunities to explore features and assess usability. This approach helps you avoid spending money on tools that don’t meet your needs.
Tip: Test multiple tools to compare their strengths and weaknesses.
Practicing with manual tools before purchasing
If you prefer manual drafting, practice with basic tools before buying specialized equipment. Experiment with graph paper, templates, and stencils to refine your skills. This practice ensures you make informed decisions when upgrading your toolkit.
Pro Tip: Borrow or rent tools to test them before making a purchase.
By evaluating your skills, project needs, and available resources, you can choose the best tools for designing horseshoe blueprints.
Designing horseshoe blueprints becomes easier when you use the right tools. Software like AutoCAD, SolidWorks, and Fusion 360 offers advanced features for precise and professional designs. Manual drafting tools, such as rulers and graph paper, provide a reliable option for traditional methods. You should choose tools that match your skill level, project complexity, and budget.
Exploring these options will help you master how to design horseshoe. Start with beginner-friendly tools if you are new, or invest in advanced software for complex projects. The right choice ensures better results and a smoother design process.
FAQ
What is the best software for beginners in horseshoe design?
SketchUp is a great choice for beginners. Its intuitive interface and free version make it easy to learn. You can start with simple 2D designs and gradually explore 3D modeling.
Tip: Use the free version to practice before upgrading to advanced features.
Can I design horseshoes without using software?
Yes, you can use manual drafting tools like rulers, compasses, and graph paper. These tools help you create precise designs. Pre-made templates and stencils also simplify the process.
Note: Manual drafting is ideal for simple designs or if you prefer traditional methods.
How do I choose between free and paid tools?
Free tools work well for beginners or small projects. Paid tools offer advanced features like 3D modeling and customization. Assess your project needs and budget to decide.
Pro Tip: Start with free tools and upgrade as your skills improve.
Is cloud-based software better than desktop software?
Cloud-based software like Fusion 360 allows you to work from anywhere and collaborate easily. Desktop software like AutoCAD offers reliable offline performance. Choose based on your workflow and internet access.
Note: Cloud-based tools are ideal for teams, while desktop tools suit solo projects.
What tools are essential for manual horseshoe design?
You need rulers, compasses, protractors, and mechanical pencils for precision. Graph paper helps with scaling, and blueprint paper enhances presentation. Templates and stencils save time.
Tip: Invest in high-quality tools for better accuracy and durability.